How to wisely use your Tufting Gun
Tufting guns are versatile tools that allow you to create beautiful and unique rugs, pillows, and other home decor items. If you’re new to tufting, you might be wondering how to use a tufting gun. In this article, we’ll take a detailed look at the steps involved in using a tufting gun to create your own custom designs.

Step 1: Choose your design and materials
Before you start tufting, you need to decide on your design and select the materials you’ll use. Tufting guns can work with a variety of materials, including yarn, wool, cotton, and even silk. Choose a material that will work well for your design and the final look you’re trying to achieve.

Step 2: Prepare your canvas
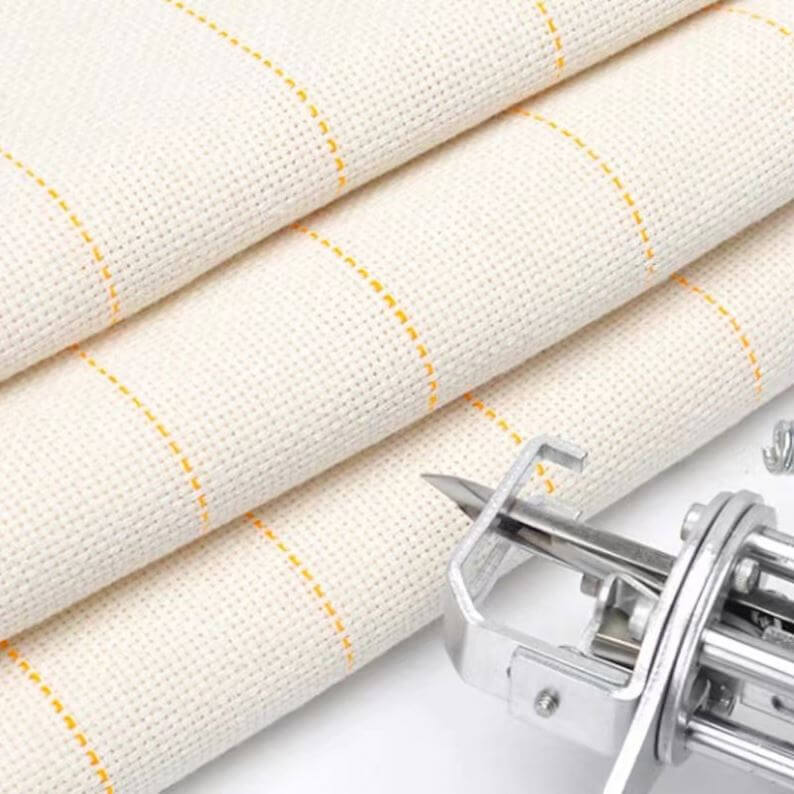
Your canvas is the base that you’ll tuft onto, and it’s important to prepare it properly before you start. Make sure your canvas is taut and stretched out on a frame, so you can work on it without any issues. You can also mark your design on the canvas before you start, so you know where to place your tufts.

Step 3: Load your tufting gun
Once your canvas is ready, it’s time to load your tufting gun. Different models of tufting guns may have slightly different loading processes, but the basic steps are the same. You’ll need to thread your material through the needle and into the tufting gun, making sure it’s securely in place.

Step 4: Start tufting
With your tufting gun loaded and ready, it’s time to start tufting. Hold the tufting gun against the canvas at the spot where you want to start tufting, and pull the trigger. The needle will pierce through the canvas and create a loop of material on the other side. Continue pulling the trigger and creating loops until you’ve filled in the area you’re working on.

Step 5: Finishing touches
When you’re done tufting, you can add any finishing touches to your design. This might include trimming the loops to create a cut pile, or leaving them as is for a loop pile. You can also add additional tufts or details to your design, using a different color or material.

Step 6: Clean up and enjoy
Once you’re finished tufting and have added any finishing touches, it’s time to clean up and enjoy your new creation. Cut away any excess material or thread, and clean up any mess from the tufting process. Then step back and admire your new rug, pillow, or other tufted item!
Conclusion
Using a tufting gun is a fun and creative way to make your own custom home decor items. With a few simple steps, you can start tufting and create unique designs that will impress your friends and family. Remember to choose the right materials, prepare your canvas properly, and load your tufting gun correctly before you start. With practice, you’ll become an expert tufter in no time!
